
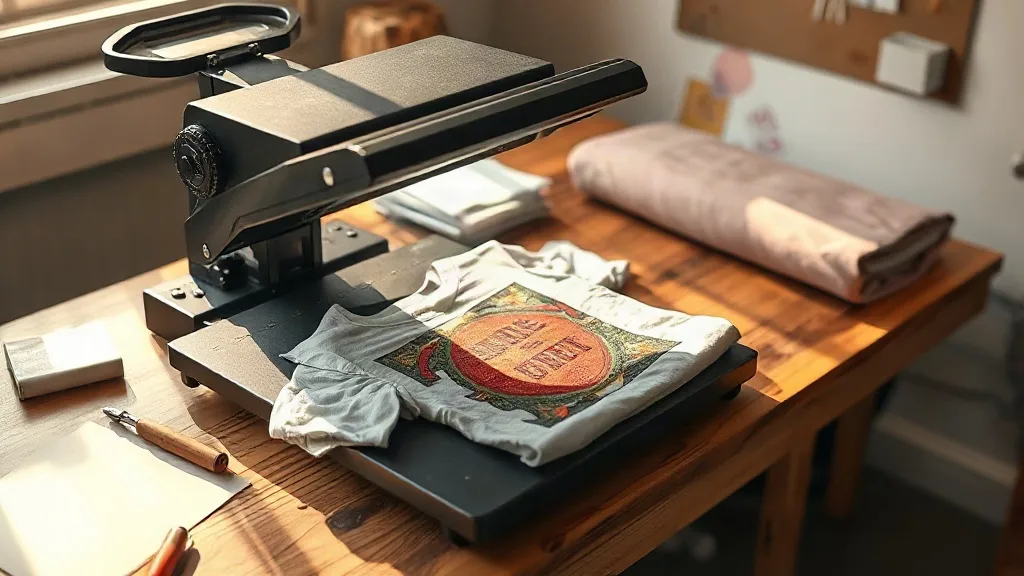
If you have spent any time around a heat press in the last few years, you have probably noticed the shift. Screen printing setups still dominate big runs, but the small shop down the street and the person selling shirts out of a spare room are increasingly working with dtf transfers. The reason is simple: you can print a full-color design with photographic gradients, print it once, and press it onto a cotton tee, a polyester hoodie, or a canvas tote without changing a single setup step. That flexibility is why DTF went from a niche workflow to a default choice for short runs so quickly.
What follows is not a sales pitch. It is the practical knowledge I wish someone had handed me the first time I ruined a stack of films by pressing too hot. We will cover how the material actually behaves, what to inspect before you pay, the press settings that survive a wash cycle, and how to judge whether a supplier is worth your money.
What a DTF Transfer Actually Is
DTF stands for direct to film, and the name describes the process accurately. A printer lays down water-based pigment ink onto a special PET film, then a powder adhesive is applied to the wet ink and cured. The result is a flexible printed layer sitting on a carrier sheet, ready to be heat pressed onto fabric.
The key detail most beginners miss is that the powder is doing the heavy lifting. Ink alone will not bond to cotton. The thermoplastic adhesive melts under heat and pressure, grabs the fibers, and locks the print in place. If the powder application was uneven or under-cured at the production stage, no amount of fiddling with your press will save the transfer. This is why quality control at the supplier level matters more than almost anything else.
Where DTF Fits Compared to Other Methods
Screen printing wins on cost per unit at volume and on durability for simple designs. Vinyl cutting is cheap for single-color text and numbers. DTF wins when you have full-color artwork, gradients, fine detail, or a mix of garment types in one order. It also has no minimum quantity worth worrying about, which is the whole point for anyone testing designs.
The trade-off is hand feel. A well-made dtf print sits soft on the fabric, but it will never disappear into the weave the way a discharge print does. On lightweight summer tees, a large solid-background design can feel a bit rubbery. Keep print areas moderate and the issue mostly goes away.
What to Check Before You Buy
Ordering transfers online is convenient, but the variance between suppliers is real. Two vendors can sell what looks like the same product and deliver very different results. Here is what I check now, in order.
- Film thickness and peel behavior. A good cold-peel film releases cleanly after the sheet cools. If it fights you or tears the edges of fine details, the powder layer is likely inconsistent.
- Color accuracy against your file. Ask for a physical sample before committing to a large order. Screens lie, and so do monitor profiles.
- Adhesive coverage on the edges. Hold the transfer up to a light. Patchy white powder near the borders means those areas will lift in the wash.
- Stretch recovery. Press a sample onto a stretchy blend and pull it gently. Cracking along the ink lines is a warning sign.
- Turnaround and file specifications. Clear guidance on resolution, color mode, and bleed tells you whether the supplier has a real production process or is improvising.
One more thing worth doing: press a sample and wash it before you place a second order. A single wash at 40 degrees Celsius with a normal detergent will expose most adhesion problems in about an hour of your time.
Press Settings That Survive the Wash
Every film brand publishes its own recommended settings, and you should follow those first. That said, the physics are consistent enough that a few principles apply across the board.
Temperature and Pressure
Most films press in the 150 to 160 degrees Celsius range. Going hotter to speed things up is the single most common mistake. Overheating can cause the adhesive to migrate into the fabric too aggressively, which feels great on day one and produces a stiff, cracked print after a month. Medium pressure is usually right: firm enough that you can see the fabric texture through the carrier sheet, not so firm that the platens fight each other.
Peel Timing
Cold peel is standard for DTF. Let the transfer cool completely, ideally a minute or more, before removing the film. Warm peeling pulls the ink before the adhesive has fully set. If you are in a hurry, press a second garment while the first one cools instead of rushing the peel.
The Second Press
After peeling, a short second press of five to ten seconds with a cover sheet restores smoothness and improves wash durability. It takes almost no time and makes a visible difference on textured fabrics like hoodie fleece.
Finding a Supplier Without Wasting Money
Searching for dtf transfers near me is a reasonable starting point, especially if you want to avoid shipping delays or customs headaches. Local suppliers can often turn around a rush order in a day, and you can inspect the product in person before buying in bulk.
That said, proximity is not a quality signal. A nearby vendor with sloppy powder application is worse than a distant one with tight process control. Use location as a tiebreaker, not a primary filter. Ask three questions before your first order: what film brand do you use, can I get a sample pack, and what is your policy if a batch fails a wash test? Suppliers who answer these clearly tend to be the ones worth keeping.
Storage and Handling
Transfers are not indestructible. Store them flat, away from direct sunlight, and keep the room reasonably dry. Humidity is the quiet enemy: film that absorbs moisture can bubble or wrinkle during pressing. If you live somewhere damp, a sealed bag with a desiccant pack is cheap insurance.
Do not stack heavy objects on top of films, and avoid folding them along the printed area. Creases in the carrier sheet translate directly into visible lines in the finished print.
Common Questions
Can I press DTF transfers onto polyester and nylon?
Yes, and this is one of the method's real strengths. Polyester and nylon press well, though you should drop the temperature slightly and use a cover sheet to protect the fabric surface. Always test a small area first on coated or treated fabrics.
How long should a DTF print last?
With a correct press and normal care, a quality transfer should hold up through dozens of wash cycles. Washing inside out in cold water and tumble drying low, or hanging to dry, will extend that considerably. Bleach and high dryer heat are what kill prints early.
Do I need a special printer to make my own transfers?
You need a printer capable of handling DTF pigment ink, a powder shaker, and a curing oven or heat press setup. For most people doing short runs, buying finished transfers is far cheaper than building a production line, and it removes a long list of variables.
What file format should I send?
Send a high-resolution PNG with a transparent background, or a vector file if your design allows it. Aim for at least 300 DPI at the final print size. Low-resolution files will look soft no matter how good the press work is.
Why did my transfer crack after the first wash?
Cracking almost always traces back to one of three causes: too much heat during pressing, insufficient pressure, or an under-cured adhesive from the supplier. Press a fresh sample with verified settings and wash it. If it still cracks, the problem is upstream and worth raising with the vendor.
Get the basics right and DTF becomes one of the most forgiving decoration methods available. The learning curve is short, the equipment cost is low, and the range of fabrics you can work with is broader than most alternatives. Start with samples, press carefully, and let a wash test tell you the truth.