
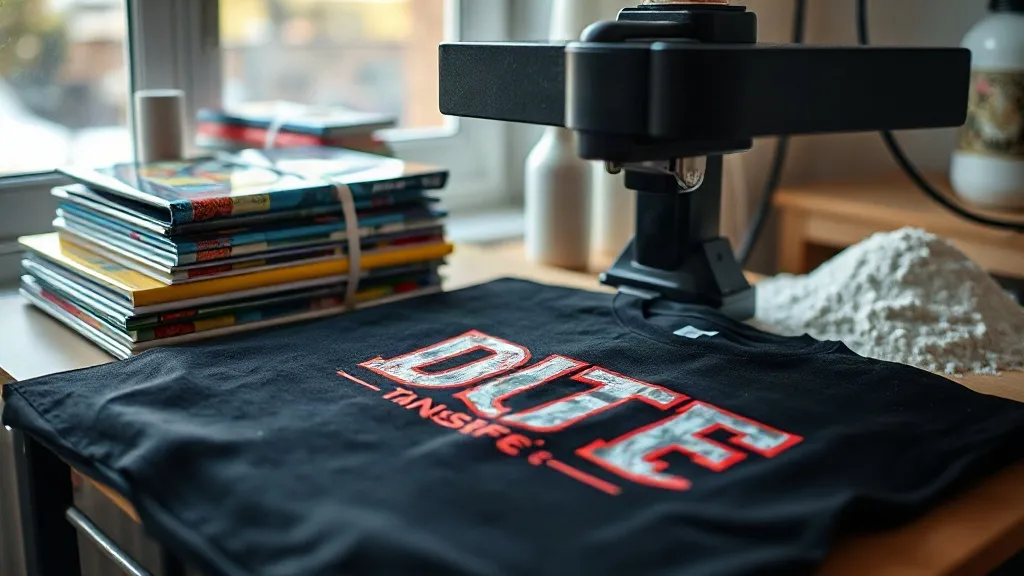
Imagine being able to print a full-color, photograph-quality design onto a t-shirt in under ten minutes, without any messy pre-treatment or expensive equipment. That's the promise of dtf printing, and it's quickly becoming the go-to method for small business owners, crafters, and anyone who wants to create custom apparel with professional results. Whether you're just curious about the technology or ready to start your own printing journey, this guide will walk you through everything you need to know about dtf transfers.
What Are DTF Transfers?
DTF stands for Direct to Film. It's a printing method where your design is printed onto a special PET film using water-based pigments, then coated with a hot-melt adhesive powder. Once the powder is cured, the transfer is ready to be applied to fabric using a heat press. Unlike DTG (Direct to Garment) printing, which requires the garment to be pre-treated and printed directly, DTF transfers are printed separately and can be stored for later use. This makes them incredibly versatile and cost-effective for small batches or on-demand production.
The magic of DTF lies in its ability to adhere to a wide range of fabrics, including cotton, polyester, blends, and even nylon. The prints are stretchable, durable, and vibrant, with excellent wash fastness. Because the design is printed on a film, you can achieve fine details and gradients that might be challenging with other methods like screen printing or vinyl cutting.
How DTF Transfers Are Made: A Step-by-Step Breakdown
Understanding the production process helps you appreciate the quality and troubleshoot issues. Here's what happens from digital file to finished transfer:
- Design Preparation: Your artwork is prepared in a graphics program. It's important to mirror the image horizontally, as the film will be flipped when pressed. DTF printers use CMYK plus white ink, so no color separation is needed.
- Printing: The design is printed onto a PET film. First, a layer of white ink is applied (for opacity on dark fabrics), followed by the color layers. Some printers print color first, then white, depending on the setup.
- Powder Application: While the ink is still wet, a thermoplastic powder is sprinkled over the print. The excess powder is shaken off, leaving powder only on the wet ink.
- Curing: The film goes through a curing oven or under a heat source to melt the powder, creating a adhesive layer that will bond to the fabric.
- Pressing: The transfer is placed on the garment and pressed with a heat press at around 300-320°F (150-160°C) for 10-15 seconds. After pressing, the film is peeled off (hot peel or cold peel, depending on the film type).
Each step requires attention to detail. For instance, insufficient powder or under-curing can lead to washes out, while too much pressure can cause the design to spread. But with practice, the process becomes second nature.
Why Choose DTF Over Other Printing Methods?
If you're familiar with DTG, screen printing, or heat transfer vinyl (HTV), you might wonder what sets DTF apart. Here's a quick comparison:
- Versatility: DTF works on almost any fabric, including dark and light colors, without the need for pre-treatment. HTV requires different materials for different fabrics, and DTG often needs pre-treatment for dark shirts.
- Cost-Effectiveness for Short Runs: Screen printing requires setup costs per color, making short runs expensive. DTF has no setup fees and is economical for one-off items or small batches.
- Detail and Color: DTF can reproduce intricate details and gradients that are difficult with vinyl. It also offers vibrant colors without the limitations of layered vinyl.
- Durability: When applied correctly, DTF prints withstand dozens of washes without cracking or fading. They stretch with the fabric, making them ideal for athletic wear.
- Speed: Once you have a heat press and a DTF printer, you can produce transfers on demand. No need to wait for screens or outsourced printing.
However, DTF isn't perfect for every situation. For very large orders, screen printing may still be more cost-effective. And for certain synthetic fabrics like nylon, special low-temperature powders are needed. But for the majority of custom apparel needs, DTF is a game-changer.
Getting Started: Equipment and Supplies
To begin with DTF printing, you'll need a few key pieces of equipment:
- DTF Printer: A dedicated DTF printer with white ink circulation and a powder shaker unit. Prices range from a few thousand to over ten thousand dollars.
- Heat Press: A reliable heat press capable of consistent temperature and pressure. A clamshell or swing-away press works well.
- PET Film: Special film designed for DTF printing, available in sheets or rolls.
- DTF Powder: Thermoplastic powder that adheres to the ink. There are different types for different fabrics.
- Curing Oven or Heat Gun: To melt the powder. Some printers have integrated curing units.
- Design Software: Any vector or raster graphics program like Adobe Photoshop, Illustrator, or free alternatives like Inkscape or GIMP.
If you're not ready to invest in a printer, you can buy pre-made dtf transfers from online suppliers. This is a great way to test the waters before committing to the full setup.
Tips for Flawless DTF Transfers
Even with the right equipment, small mistakes can ruin a transfer. Here are some practical tips I've learned from experience:
- Control Moisture: Fabric must be dry before pressing. Moisture can cause the transfer to peel or bubble. Pre-press the garment for a few seconds to remove moisture.
- Mind the Pressure: Too little pressure and the design won't adhere; too much and it will spread. Aim for medium pressure and adjust based on results.
- Test Your Powder: Not all powders are created equal. Some have a lower melting point, which is better for heat-sensitive fabrics. Always do a test press.
- Peel at the Right Temperature: Some films require hot peel (immediately after pressing), while others need to cool completely. Check the film specifications.
- Wash Inside Out: To prolong the life of your print, wash garments inside out in cold water and avoid fabric softeners.
- Store Transfers Properly: Keep unused transfers in a cool, dry place away from direct sunlight. They can last for months if stored correctly.
Common Applications and Creative Uses
DTF transfers aren't just for t-shirts. They open up a world of possibilities for customization:
- Apparel: T-shirts, hoodies, polo shirts, leggings, and even denim jackets.
- Accessories: Tote bags, backpacks, hats, and socks.
- Home Decor: Pillow covers, quilt squares, and fabric wall art.
- Corporate Merchandise: Branded uniforms, promotional items, and event giveaways.
- Personalized Gifts: Custom baby onesies, memorial shirts, or team jerseys.
The only limit is your imagination. Because DTF can print on so many surfaces, you can experiment with different materials and create unique products that stand out.
Frequently Asked Questions About DTF Transfers
How long do DTF transfers last on a shirt?
With proper application and care, DTF transfers can last as long as the garment itself. Typically, you can expect 50+ washes without significant fading or cracking. Following the washing instructions (cold water, inside out, no bleach) will maximize longevity.
Can I use DTF transfers on 100% polyester?
Yes, DTF works well on polyester. However, because polyester is heat-sensitive, you should use a low-temperature powder and press at a lower temperature (around 280-300°F) to avoid scorching or dye migration. Always test on a scrap piece first.
Do I need a special printer for DTF?
You can convert some inkjet printers to DTF, but it's not recommended. Dedicated DTF printers are built with white ink circulation systems and are designed to handle the thick inks and powder. Using a converted printer may lead to clogs and inconsistent results.
What's the difference between DTF and DTG?
DTG prints directly onto the garment, while DTF prints onto a film that is then transferred. DTG requires pre-treatment and works best on 100% cotton. DTF can be used on a wider range of fabrics without pre-treatment and allows you to produce transfers in advance.
How do I remove a DTF transfer if I make a mistake?
If you press a transfer and realize it's misaligned, you can usually remove it by reheating the transfer with a heat press or iron and peeling it off while hot. Be careful not to scorch the fabric. For stubborn residues, a specialized adhesive remover may be needed.
DTF printing is more than a trend; it's a practical solution for anyone looking to create high-quality custom apparel. With a bit of practice and the right supplies, you can achieve professional results right from your home or shop. So why not give it a try? Your next custom creation could be just a press away.